
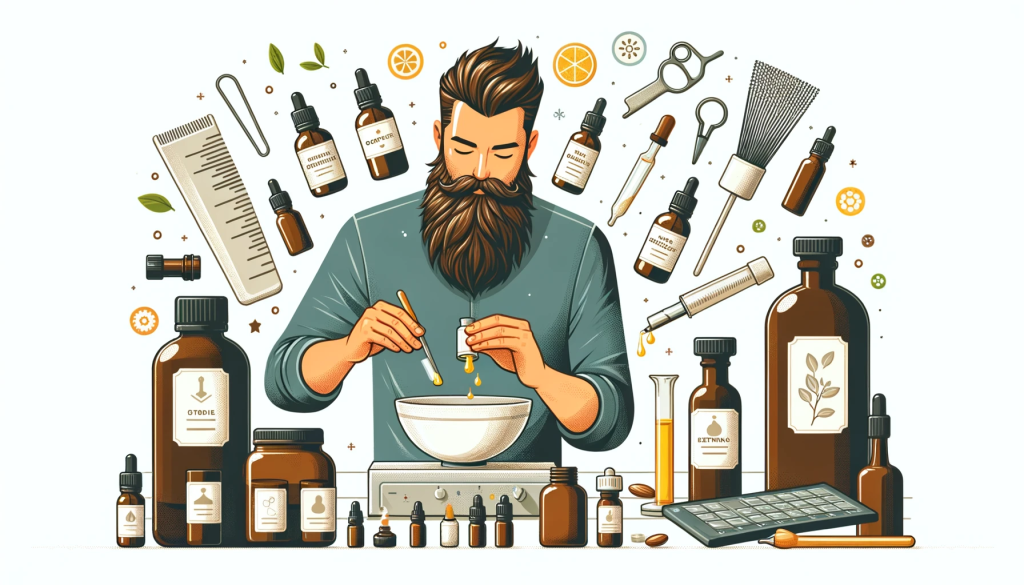
Let’s talk about something that’s gaining a lot of traction in the world of men’s grooming – making your own products. Yes, you heard it right, DIY Men’s Grooming Products are not just a trend; they’re a revolution in how we think about personal care. As someone who’s been dabbling in DIY for years, I can tell you there’s something incredibly satisfying about concocting your own grooming essentials.
Gone are the days when DIY was just for home repairs. Now, it’s about taking control of what goes on your skin and in your hair. From whipping up your own beard oil to mixing a batch of aftershave that soothes your skin just the way you like it, the possibilities are endless. Not to mention, it’s a fantastic way to cut down on chemicals, save some bucks, and get creative.
So, whether you’re a seasoned pro in DIY or just curious about where to start, I’ve got you covered. Let’s dive into this world of homemade grooming goodies and see how you can add a personal touch to your daily routine.
Why Choose DIY Grooming Products
In a world where we’re constantly bombarded with commercial grooming products, the shift to DIY might seem like a step back, but it’s actually a leap forward. Here’s why making your own grooming products is catching on:
Natural and Healthy
- Know What’s in Your Products: One of the biggest perks of DIY is knowing exactly what you’re putting on your skin and hair. You can avoid harsh chemicals and allergens found in many store-bought products.
- Natural Ingredients: By choosing ingredients like essential oils, shea butter, and coconut oil, you’re opting for substances that work in harmony with your body, not against it.
Customization at Its Best
- Tailored to Your Needs: Commercial products are one-size-fits-all. DIY allows you to customize products to suit your specific skin and hair type, addressing issues like sensitivity, dryness, or oiliness.
- Experiment with Scents and Textures: Love a particular scent or prefer a certain texture? When you make your own products, you’re the master of your grooming experience.
Cost-Effective and Eco-Friendly
- Save Money in the Long Run: Making your own grooming products can be more economical. Ingredients bought in bulk last longer and can be used in multiple recipes.
- Reduce Environmental Impact: DIY grooming reduces plastic waste from packaging and cuts down on the environmental toll of manufacturing and transporting commercial products.
Fun and Fulfilling
- A Rewarding Hobby: There’s something genuinely satisfying about creating something with your own hands. It’s a productive and enjoyable way to spend your time.
- Share and Impress: Homemade grooming products make great gifts. Impress your friends and family with personalized grooming kits.
By choosing the DIY route, you’re taking control not just of your grooming routine, but also of your health, your impact on the planet, and even your wallet. It’s about making smart, responsible choices that are as good for you as they are for the world around you.
Homemade Beard Oil
Crafting your own beard oil is simpler than you might think and it’s a great starting point for your DIY grooming journey. Here’s how you can create a custom blend that keeps your beard looking healthy, shiny, and well-maintained.
Choosing Your Base and Essential Oils
- Base Oils: Start with carrier oils like jojoba, argan, or sweet almond oil. These oils form the foundation of your beard oil, nourishing and moisturizing your beard and skin.
- Essential Oils: Add essential oils for fragrance and additional benefits. For example, tea tree oil for its antibacterial properties or sandalwood for a classic, woodsy aroma.
Simple Beard Oil Recipe
- Ingredients:
- 2 oz of your chosen base oil
- 10-15 drops of essential oil (depending on your scent preference)
- Instructions:
- Mix the base oil and essential oils in a small bottle. A dropper bottle works well for easy application.
- Shake well to blend the oils.
- Usage:
- Apply a few drops to your beard and massage it in gently, making sure to reach the skin beneath.
- Use it daily for the best results, preferably after a shower when your beard is clean and slightly damp.
Customizing Your Blend
- For Dry Beards: Add more of hydrating oils like argan or coconut oil.
- For Acne-Prone Skin: Include oils like tea tree or lavender for their antibacterial qualities.
Creating your own beard oil not only gives you full control over what you’re applying to your beard but also allows you to tailor the product to suit your beard’s unique needs and your personal preferences.
Natural Aftershave Recipes
After a good shave, your skin deserves a little TLC. And what better way to do that than with a natural, homemade aftershave? Not only is it simple to make, but it also leaves your skin feeling refreshed, soothed, and smelling great. Here’s how to whip up your own natural aftershave at home.
Soothing Aftershave Splash
Ingredients:
- 1 cup of witch hazel
- ¼ cup of apple cider vinegar
- A few drops of your favorite essential oil (like peppermint for cooling or lavender for soothing)
- 2 tablespoons of aloe vera gel (for added skin healing)
Instructions:
- Combine all the ingredients in a bottle and shake well.
- After shaving, splash a small amount onto your hands and apply it to your face and neck.
Hydrating Aftershave Balm
Ingredients:
- ½ cup of shea butter
- 2 tablespoons of coconut oil
- 10 drops of essential oil (sandalwood or cedarwood offer a masculine scent and skin benefits)
Instructions:
- Melt the shea butter and coconut oil together in a double boiler.
- Remove from heat, let it cool slightly, and then stir in the essential oil.
- Once the mixture solidifies, it’s ready to use. Apply a small amount post-shave for moisturizing comfort.
Customization and Storage
- Tailor to Your Skin: Feel free to adjust the ingredients based on your skin type. For example, if you have sensitive skin, you might want to use more aloe vera or skip the apple cider vinegar.
- Storage: Store your homemade aftershave in a cool, dry place. Most natural aftershaves have a decent shelf life, but it’s best used within a few months for maximum benefits.
Making your own aftershave not only saves you money but also puts you in control of how you care for your skin post-shave. Plus, it’s a great feeling to know you’re using something on your skin that’s all-natural and personally crafted.
DIY Shaving Cream
Tired of the store-bought shaving creams that just don’t cut it? It’s time to take things into your own hands. Making your shaving cream is not only surprisingly easy, but it also offers a level of comfort and customization that commercial products can’t match. Let’s get into how you can create your own.
Rich and Creamy Shaving Cream Recipe
Ingredients:
- 1/3 cup of shea butter
- 1/3 cup of coconut oil
- 1/4 cup of jojoba or sweet almond oil
- 10-15 drops of your chosen essential oil (eucalyptus and mint are great for a refreshing feel)
Instructions:
- Melt the shea butter and coconut oil together. You can use a microwave or a double boiler for this.
- Once melted, mix in the jojoba or almond oil.
- After the mixture cools slightly, add the essential oils. Place the mixture in the refrigerator until it solidifies.
- Once solid, use a hand mixer to whip it into a creamy consistency.
Usage and Benefits
- How to Use: Apply a small amount to your wet face and lather up for a smooth, close shave.
- Benefits: This DIY shaving cream not only provides a protective layer for a smoother shave but also nourishes your skin, thanks to the natural oils and butter.
Storage and Shelf Life
- Storing Your Shaving Cream: Keep it in an airtight container in a cool, dry place. If your bathroom gets steamy, you might want to store it in a cabinet.
- Shelf Life: Homemade shaving cream usually lasts for about a month. Since it’s free from preservatives, it’s best to use it up within this timeframe.
Creating your own shaving cream means you’re saying goodbye to harsh chemicals and embracing a more skin-friendly approach to your shaving routine. Plus, it feels pretty good to know you’re lathering up with something crafted by your own hands!
Creating Organic Grooming Products
Expanding your DIY repertoire to include a range of organic grooming products not only enhances your personal care routine but also ensures you’re treating your body to the healthiest ingredients. Let’s explore some essential organic grooming staples you can easily make at home.
All-Natural Facial Scrub
Ingredients:
- 1/2 cup brown sugar or coffee grounds for exfoliation
- 1/4 cup olive or coconut oil for moisture
- A few drops of essential oil for scent (optional)
Instructions:
- Mix all the ingredients in a bowl until well combined.
- Gently massage the scrub onto your face in a circular motion, then rinse.
- Use once or twice a week for smooth, rejuvenated skin.
Homemade Hair Care
- Combine ingredients like castor oil, coconut oil, and a few drops of rosemary essential oil.
- Apply to your hair and scalp for deep conditioning and to promote hair health.
Beard Balm for Conditioning
Ingredients:
- 2 tablespoons beeswax for hold
- 2 tablespoons shea butter for moisture
- 2 tablespoons jojoba oil for nourishment
- Essential oils for fragrance
Instructions:
- Melt the beeswax and shea butter, then stir in the jojoba oil.
- Add essential oils once the mixture cools slightly.
- Pour into a container and let it solidify.
Why Choose Organic?
- Skin and Hair Health: Organic products are gentle and free of harsh chemicals, making them ideal for all skin and hair types, especially those with sensitivities.
- Environmental Impact: By choosing organic, you’re making an eco-friendly choice, reducing your exposure to synthetic ingredients and supporting sustainable practices.
Making your organic grooming products is not just a step towards better personal care; it’s an expression of a lifestyle that values health, sustainability, and the joy of crafting something with your own hands.
Assembling Your Grooming Kit
Now that you’ve mastered the art of creating DIY grooming products, it’s time to put together your very own grooming kit. This personalized kit not only caters to your specific needs but also makes for a great travel companion or a thoughtful, handmade gift.
Selecting the Right Components
- Essentials: Include your homemade beard oil, aftershave, shaving cream, and facial scrub. These are the basics for any grooming routine.
- Hair Care: Add in your nourishing hair oil or any other hair care products you’ve created.
- Storage: Choose a durable, stylish bag or box to hold your products. This not only keeps them organized but also adds a touch of class to your grooming routine.
Personalizing Your Grooming Kit
- Custom Labels: Create labels for each product. You can get creative here, adding personal touches or even naming the products.
- Tailor to Needs: Think about your specific grooming needs or those of the person you’re gifting it to. Customize the kit’s contents to match these preferences.
Assembling the Kit
- Organize Products: Arrange the products neatly in the bag or box. Make sure they’re securely placed to avoid spills.
- Include Tools: Add in grooming tools like a razor, trimmer, or beard comb. These essentials complete the kit.
- Finishing Touches: If it’s a gift, consider adding a personal note or styling tips.
Creating and assembling your own grooming kit is not just practical; it’s a reflection of your commitment to natural, personalized care. It shows a dedication to quality and an appreciation for the finer details in life. Enjoy using it every day or see the delight it brings when gifted to a friend or loved one.
Conclusion: Embracing the DIY Grooming Revolution
As we wrap up our exploration of DIY Men’s Grooming Products, it’s clear that stepping into the world of homemade grooming solutions is more than just a cost-saving exercise – it’s a journey into a more natural, mindful, and personalized approach to self-care.
The Rewards of DIY Grooming
- Healthier Choices: By choosing to create your own grooming products, you’ve taken control of the ingredients that touch your skin and hair, opting for healthier, more natural options.
- Creative Satisfaction: There’s a unique satisfaction in using products crafted by your own hands. It adds a personal touch to your daily grooming ritual that store-bought products simply can’t match.
- Sharing the Experience: Your journey into DIY grooming can inspire others. Whether it’s sharing tips with friends or gifting your homemade creations, you’re spreading the word about a more organic and sustainable way of living.
Final Thoughts
- Patience and Learning: Like any new skill, mastering DIY grooming products takes time and patience. Enjoy the process of learning and experimenting.
- Continual Exploration: The world of DIY grooming is vast and ever-evolving. Keep exploring new recipes and techniques to refine your skills and expand your grooming repertoire.
As you continue to explore and create, remember that DIY grooming is more than just a means to an end; it’s a statement about who you are and what you stand for. It’s about taking the time to care for yourself in a way that respects both your body and the environment. So, here’s to you, the modern, conscious, and crafty groomer – may your journey be as rewarding as it is stylish!
FAQs on DIY Men’s Grooming Products
Q1: Can homemade grooming products match the effectiveness of store-bought ones?
A: Absolutely! Homemade grooming products, when made with the right natural ingredients, can be just as effective, if not more so, than commercial products. They are free from harsh chemicals and can be customized to suit your specific needs.
Q2: How long do DIY grooming products typically last?
A: The shelf life of DIY grooming products varies depending on the ingredients used. Most homemade products, especially those without preservatives, are best used within a month or two. Always store them in a cool, dry place to prolong their shelf life.
Q3: Are there any risks associated with making grooming products at home?
A: The main risk lies in potential allergic reactions. Always conduct a patch test with new ingredients on a small area of your skin. Additionally, ensure you’re following safe and clean preparation methods to avoid contamination.
Q4: What are the must-have ingredients for starting DIY grooming projects?
A: Essential must-haves include carrier oils like jojoba or coconut oil, essential oils for fragrance, natural butters like shea or cocoa for creams and balms, and good quality beeswax for products requiring a thicker consistency.
Q5: Can I make grooming products at home for sensitive skin?
A: Yes, one of the benefits of DIY is the ability to create products suited for sensitive skin. Use gentle, natural ingredients and avoid common irritants like synthetic fragrances or harsh exfoliants.
Q6: How can I learn more about creating my grooming products?
A: There are numerous resources available, including online blogs, tutorials, and books dedicated to DIY grooming products. Start with simple recipes and gradually experiment with more complex formulations as you gain confidence.